Fixing a Leaky Roof: Your Step-by-Step Guide to a Dry and Secure Home
Dealing with a leaky roof can be a hassle, but fear not! In this friendly and informative guide, we'll walk you through the step-by-step process of fixing a leaky roof.
By following these instructions, you'll be able to address the issue effectively and ensure a dry and secure home.
Let's get started!
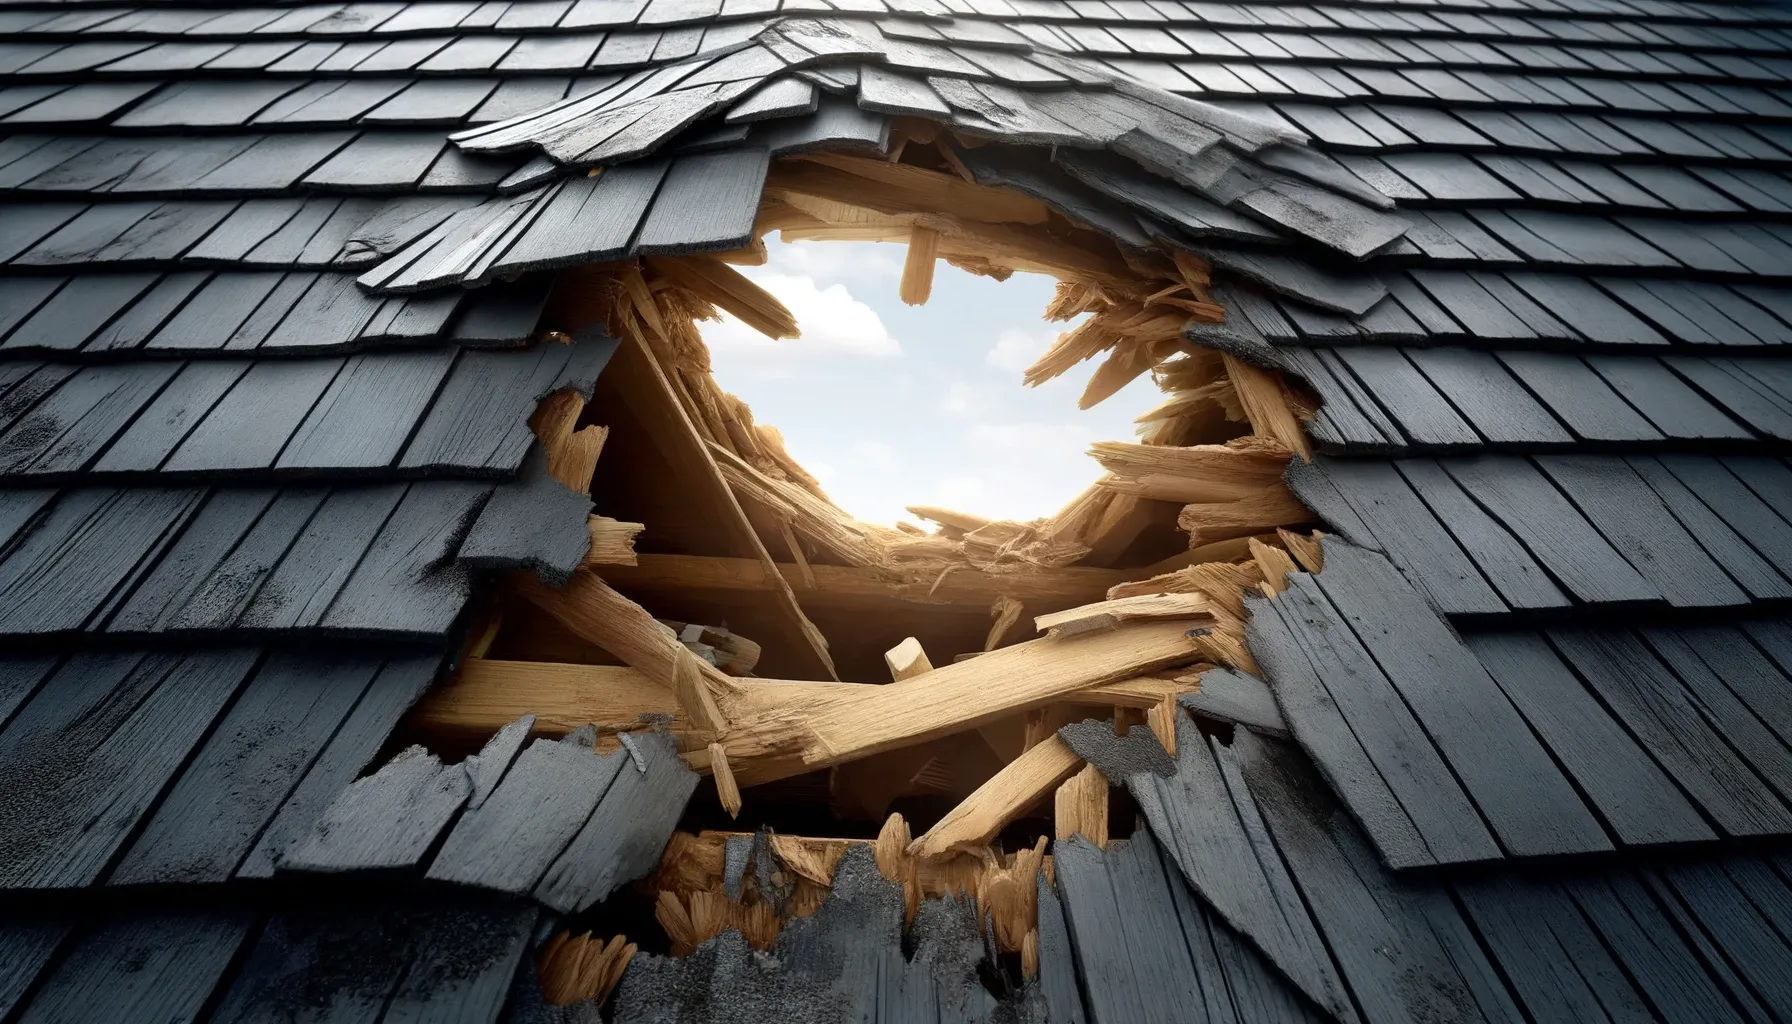
Assess the Damage
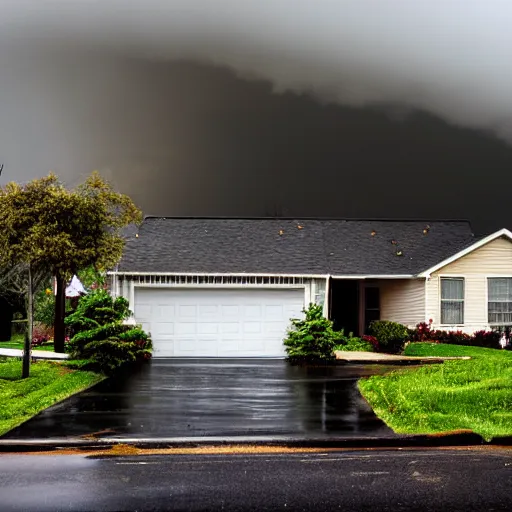
The first step in fixing a leaky roof is to assess the damage. Look for signs of water stains or dripping water in your home and trace the source of the leak to the roof.
Identify the specific area where the water is entering and evaluate the extent of the damage. This will help you determine the best course of action.
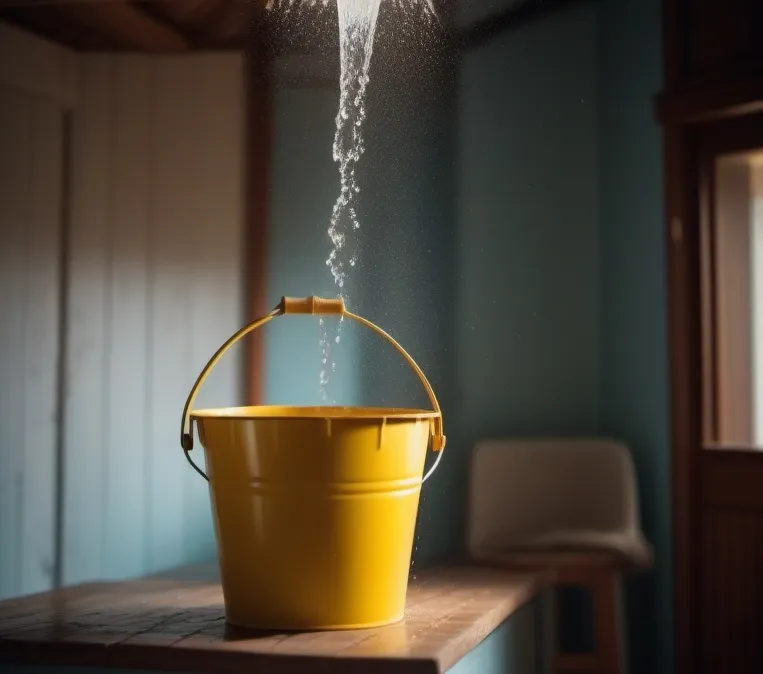
Temporary Measures for Immediate Relief
While you work on a permanent fix, it's important to take temporary measures to minimize further damage.
Place buckets or containers strategically to catch dripping water and use tarps or plastic sheeting to cover the affected area. These temporary fixes will provide immediate relief until you can complete the repair.
Clear Debris and Clean Gutters
One common cause of roof leaks is clogged gutters and debris buildup. Clear any leaves, branches, or other debris from your roof and gutters.
Ensure that the gutters are clean and free-flowing to allow rainwater to drain properly. This simple maintenance task can prevent water from backing up and causing leaks.
Replace Damaged Shingles or Roofing Material
Inspect your roof for damaged or missing shingles or other roofing materials. If you find any, carefully remove the damaged pieces and replace them with new ones.
Ensure that the replacement materials match the existing roof to maintain a cohesive appearance. Use roofing nails or adhesive as recommended by the manufacturer for a secure installation.

Seal Cracks and Gaps
Check for any cracks or gaps in the roof surface or flashing. Use roofing sealant or caulk to seal these areas and prevent water from seeping through.
Apply the sealant generously and smoothly, covering the entire affected area. Allow it to dry and cure according to the manufacturer's instructions.
Repair or Replace Flashing
Flashing is the material used to seal joints and transitions on your roof, such as around chimneys, vents, or skylights. Inspect the flashing for signs of damage or deterioration.
Repair any loose or damaged flashing by securing it with roofing nails or replacing it if necessary. Properly installed and intact flashing is crucial for preventing leaks.
Conduct a Thorough Inspection
After completing the repairs, conduct a thorough inspection of your roof to ensure that all issues have been addressed. Check for any remaining leaks or signs of water damage.
If you notice any additional problems, consult a professional roofer for further assistance.
Conclusion:
Congratulations! You've successfully learned how to fix a leaky roof. By following these step-by-step instructions, you can address the issue and protect your home from further water damage.
Remember, safety should be your top priority, and if you feel unsure or the damage is extensive, it's always best to consult a professional roofing contractor. Here's to a dry and secure home for years to come!