How to Waterproof a Leaking Roof?
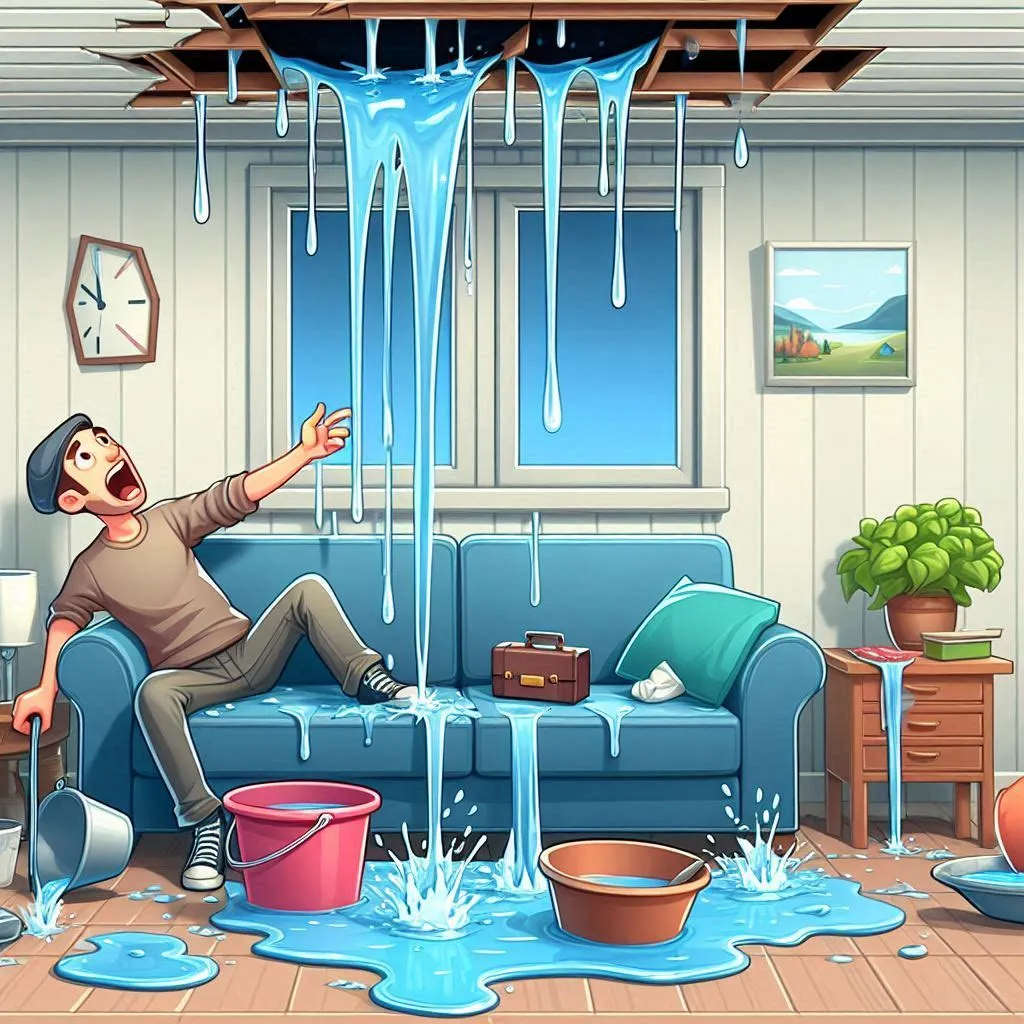
Roof leaks can be a major inconvenience for homeowners, leading to water damage, mold growth, and costly repairs. In this article, you will explore the process of waterproofing a leaking roof.
By understanding the steps involved and the materials needed, you can confidently tackle this task and prevent further damage to your home. Additionally, we will touch on the essential considerations for repairing a damaged roof to ensure a comprehensive solution.
Whether you are a homeowner facing an existing leak or simply seeking to be better prepared for potential issues in the future, this article aims to provide you with the knowledge and guidance needed to effectively waterproof and maintain your roof.
Identify the Source of the Leak
Inspect the interior
To begin the process of waterproofing a leaking roof, you must first identify the source of the leak. Start by inspecting the interior of your home. Look for any signs of water stains on ceilings or walls.
Pay close attention to areas where the stains are more prominent or where water seems to be pooling. This will give you an idea of where the leak may be originating from.
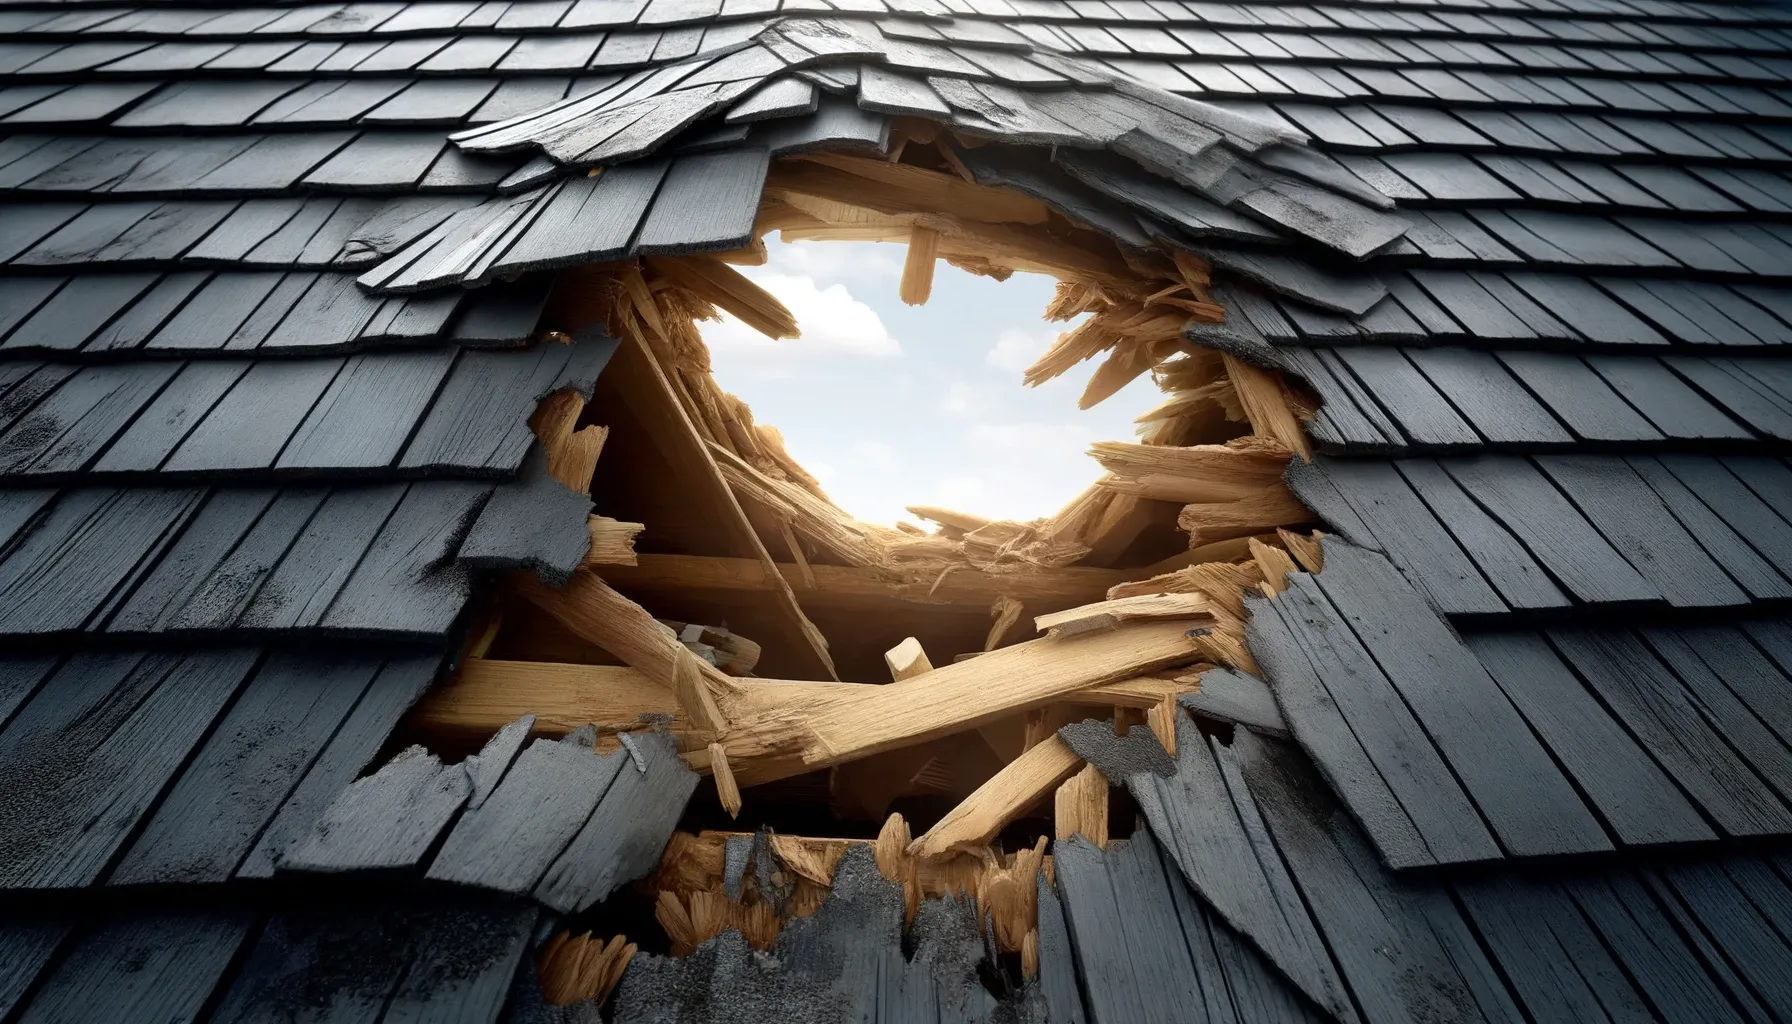
Inspect the exterior
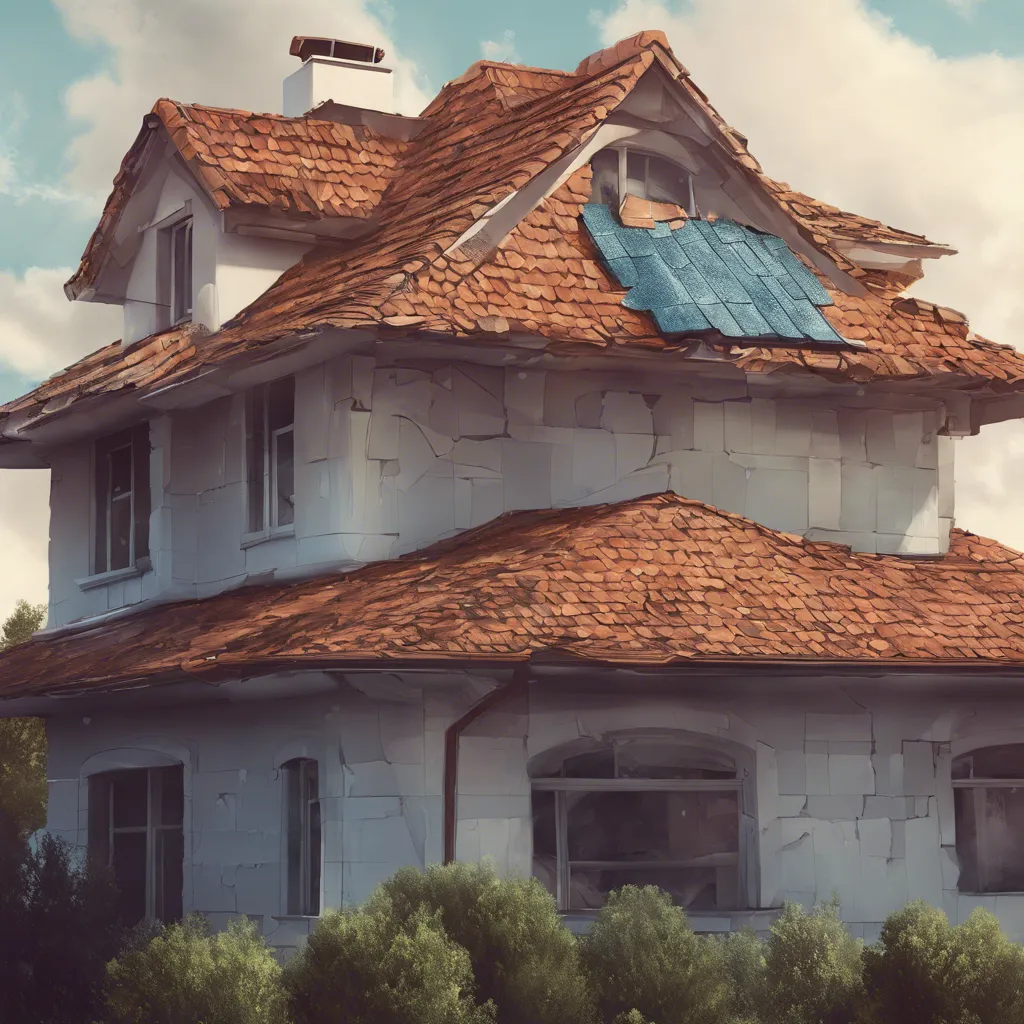
After examining the interior, it's time to move on to inspecting the exterior of your roof. Carefully examine the shingles or tiles to see if any are damaged, cracked, or missing.
Look for areas where the flashing may be deteriorated or not properly sealed. Inspect the chimney and any vents for signs of damage or blockage. Take note of any areas where water could potentially penetrate the roof.
Use a water hose test
To further confirm the location of the leak, you can perform a water hose test. This involves spraying water onto different areas of the roof while someone else monitors the interior for any signs of water intrusion.
Start by testing areas where you suspect the leak may be coming from based on your previous inspections. Gradually move the hose to cover the entire roof until the source of the leak is identified. This method can help pinpoint the exact location that needs waterproofing.
Prepare the Roof for Repair
Clean the roof surface
Before applying any waterproofing materials, it is essential to clean the roof surface thoroughly. Remove any debris, such as leaves, branches, or dirt, that may have accumulated on the roof.
You can use a broom, a leaf blower, or a gentle power washer to clean the surface. Ensure that all gutters and downspouts are clear of any obstructions as well. A clean roof provides a solid foundation for the waterproofing process.
Remove debris
In addition to cleaning the roof surface, it is important to remove any debris that may be present on the roof itself. This includes removing any loose shingles or tiles, as well as any accumulated dirt or debris. Inspect the roof for any damaged shingles or tiles and replace them as necessary. Removing debris and repairing damaged areas will help prevent further water intrusion.
Repair any damaged shingles or tiles
If you come across any damaged shingles or tiles during your inspection, it is crucial to repair or replace them before waterproofing the roof. Cracked, broken, or missing shingles can compromise the integrity of the roof and lead to further leaks. Replace the damaged shingles or tiles with new ones that are of the same type and size. This will ensure a seamless repair and help prevent future leaks.
Replace deteriorated flashing
Flashing is the material that seals the joints and edges of the roof, preventing water from seeping in. Over time, flashing can deteriorate or become damaged, leading to leaks. If you notice any deteriorated flashing during your inspection, it is important to replace it.
Carefully remove the old flashing, clean the area, and install new flashing to create a watertight seal. This will help reinforce the roof's integrity and prevent water from penetrating through the joints.
Choose the Right Waterproofing Material
Evaluate different options
Once you have prepared the roof for repair, it's time to choose the right waterproofing material. There are several options available, including liquid sealants, membranes, and coatings.
Each option has its own advantages and disadvantages, so it's important to evaluate them carefully. Consider factors such as durability, ease of application, and cost when deciding which material is best suited for your roof.
Consider the climate and weather conditions
When selecting a waterproofing material, it is crucial to consider the climate and weather conditions in your area. If you live in an area with heavy rainfall or extreme temperatures, you need a material that can withstand these conditions.
Take into account factors such as UV resistance, thermal expansion, and freeze-thaw cycles. Choosing a material that is specifically designed for your climate will ensure long-lasting protection for your roof.
Select appropriate materials for your type of roof
Different types of roofs require different waterproofing materials. For example, a flat roof may require a liquid sealant or a rubber membrane, while a pitched roof may benefit from asphalt coatings.
Consider the specific characteristics of your roof, such as its slope, pitch, and material, when choosing the waterproofing material. Consult with a roofing professional if you are unsure which materials are best suited for your type of roof.
Apply waterproofing sealant
Clean and dry the roof
Before applying any waterproofing sealant, it is crucial to ensure that the roof is clean and dry. Remove any remaining debris or loose materials from the surface. Allow the roof to fully dry to ensure proper adhesion of the sealant. This step is vital to the effectiveness of the waterproofing process.
Protect surrounding areas
To prevent any damage to the surrounding areas, such as walls or windows, it is important to protect them before applying the sealant. Cover nearby surfaces with plastic sheets or tarpaulins. This will ensure that the sealant does not accidentally drip or splatter onto these areas during the application process.
Apply primer if necessary
Depending on the type of sealant you are using, it may be necessary to apply a primer before the actual sealant. A primer helps improve adhesion and enhances the effectiveness of the sealant. Follow the manufacturer's instructions regarding the application of the primer, if required.
Use a brush or roller to apply the sealant
Once the roof is clean, dry, and properly protected, you can begin applying the waterproofing sealant. Use a brush or roller to evenly distribute the sealant onto the roof surface. Start from one end and work your way to the other, ensuring that the sealant covers the entire roof area. Pay extra attention to any areas where leaks were previously identified or where the roof may have vulnerabilities.
Ensure even and thorough coverage
To ensure the effectiveness of the waterproofing sealant, it is crucial to achieve even and thorough coverage. Make sure the sealant is applied evenly, without any gaps or missed spots. Pay special attention to seams, joints, and other vulnerable areas where water may penetrate. This meticulous application will help create a seamless barrier against water intrusion.
Allow proper drying and curing time
After applying the sealant, allow it to dry and cure according to the manufacturer's instructions. This may involve waiting for a specific amount of time or for the sealant to reach a certain level of hardness. Be patient and avoid any foot traffic or additional work on the roof until the sealant has fully dried and cured. Rushing this step can compromise the effectiveness of the waterproofing process.
Repair or Replace Damaged Gutters and Downspouts
Inspect for leaks or clogs
As part of the waterproofing process, it is important to inspect the gutters and downspouts for any leaks or clogs. Leaking gutters can contribute to water seeping into the roof, while clogged downspouts can cause water to overflow. Check for any signs of water stains or damage along the gutters and downspouts. Use a hose to run water through them and observe if there are any leaks or blockages.
Repair or replace damaged sections
If you discover any leaks or damage along the gutters or downspouts, it is crucial to address them promptly. Repair any leaks by applying sealant or replacing damaged sections. If the damage is extensive, it may be necessary to replace the entire gutter or downspout. Ensuring the proper function of these components is essential in preventing water from pooling or overflowing onto the roof.
Ensure proper alignment and drainage
In addition to repairing any damage, it is important to ensure that the gutters and downspouts are properly aligned and allow for efficient drainage. Make sure the gutters are securely attached to the roof's edge and that they slope slightly towards the downspouts. This will allow water to flow freely and prevent any accumulation that could lead to leaks or structural damage.
Install a secondary water barrier
Select an appropriate barrier
A secondary water barrier, also known as underlayment or membrane, adds an extra layer of protection to the roof. It acts as a backup system in case the primary waterproofing layer fails. When choosing a secondary water barrier, consider factors such as durability, resistance to weather conditions, and compatibility with the primary waterproofing materials.
Install underlayment or membrane
Once you have chosen the appropriate secondary water barrier, it's time to install it. Start by properly preparing the roof surface, ensuring it is clean and dry. Lay the underlayment or membrane according to the manufacturer's instructions, ensuring that it covers the entire roof area. Use nails or adhesive to secure it in place, making sure there are no gaps or loose sections.
Seal any seams or joints
To ensure the effectiveness of the secondary water barrier, it is important to seal any seams or joints where water may potentially penetrate. Use a suitable sealant or tape to create a watertight seal along these areas. This will help prevent any water from seeping through the underlayment or membrane and reaching the underlying roof structure.
Ensure proper overlap and coverage
Proper installation of the secondary water barrier requires ensuring proper overlap and coverage. Make sure each row of underlayment or membrane overlaps the previous row by the recommended amount, usually around 6 inches. This will create a layered system that effectively directs water away from vulnerable areas of the roof.
Fix Roof Ventilation Issues
Inspect for blocked or damaged vents
Proper roof ventilation is crucial in preventing moisture buildup and ensuring the longevity of the roof. Inspect the vents to ensure they are not blocked by debris, bird nests, or other obstructions. Check for any signs of damage, such as cracks or loose fittings, which could compromise the vent's effectiveness. Addressing these issues will help maintain proper airflow and prevent condensation.
Clean or replace vents as needed
If you encounter any blocked or damaged vents during your inspection, it is important to clean or replace them as needed. Remove any debris or obstructions that may be blocking the vent's airflow. If a vent is damaged beyond repair, replace it with a new one that is compatible with your roof's design and materials. This will ensure optimal ventilation and prevent moisture-related issues.
Ensure proper airflow and ventilation
After cleaning or replacing the vents, it is vital to ensure that proper airflow and ventilation are maintained. Good ventilation helps remove excess heat and moisture from the attic, preventing the accumulation of condensation that can lead to mold growth or roof damage. Check that the vents are functioning correctly and that there are no obstructions preventing the free flow of air.
Prevent condensation and moisture buildup
Proper ventilation plays a critical role in preventing condensation and moisture buildup in the attic. Insufficient airflow can lead to excess moisture, which can damage the roof structure and promote the growth of mold and mildew. By addressing any ventilation issues and ensuring consistent airflow, you can effectively reduce the risk of moisture-related problems in your roof.
Consider Additional Roof Protection
Install protective roof coatings
In addition to the primary waterproofing measures, there are additional protective coatings that can be applied to further enhance your roof's durability. These coatings create an additional barrier against water intrusion and extend the lifespan of the roof. They can also provide added UV protection, reducing the effects of sun exposure on the roof's materials.
Apply reflective coatings to reduce heat absorption
Another option for additional roof protection is the application of reflective coatings. These coatings are designed to reduce heat absorption by reflecting the sun's rays away from the roof's surface. By minimizing the amount of heat transferred into the building, reflective coatings can improve energy efficiency and reduce cooling costs. Consider the climate and energy needs of your home when deciding whether to apply reflective coatings.
Consider installing a solar panel roof
If you are looking for a more sustainable and energy-efficient roofing option, you may consider installing a solar panel roof. Solar panels not only provide clean and renewable energy but also offer an additional layer of protection for your roof. They act as a barrier against the elements and can help prevent water intrusion. While the installation of solar panels may require professional assistance, it can provide long-term benefits in terms of energy savings and environmental impact.
Regular Roof Maintenance
Inspect and clean the roof regularly
Once you have waterproofed your roof and addressed any repairs or installations, it is important to schedule regular inspections and cleaning. Check for any signs of damage, such as loose shingles, cracked tiles, or deteriorated flashing.
Clean the roof surface of any debris, leaves, or branches that may have accumulated over time. Regular maintenance will help identify potential issues early on and prevent them from becoming larger problems.
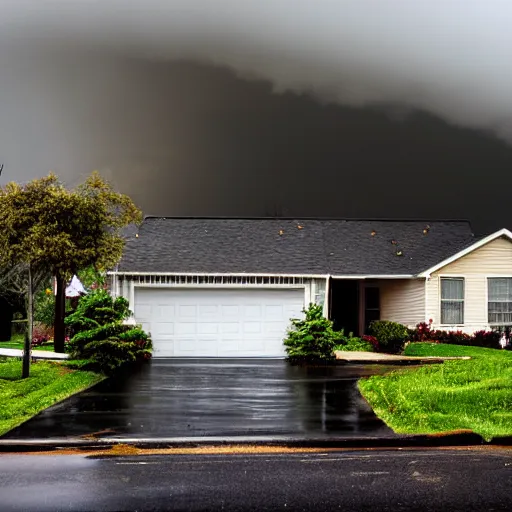
Trim overhanging branches
Overhanging branches can pose a risk to your roof, especially during storms or high winds. It is important to regularly trim any branches that are in close proximity to the roof. Falling branches or limbs can cause damage to the roof and potentially lead to leaks. By keeping the surrounding trees well-maintained, you can minimize the risk of damage to your roof.
Remove debris
In addition to regular cleaning, it is important to promptly remove any debris that may accumulate on the roof.
This includes leaves, twigs, and other organic matter that can trap moisture and promote the growth of mold or moss. Regular removal of debris will help maintain the integrity of the roof and prevent any potential water-related issues.
Repair any damage promptly
If you notice any signs of damage during your regular inspections, it is crucial to address them promptly. Prompt repairs can prevent small issues from escalating into larger problems.
Whether it's a loose shingle, a cracked tile, or deteriorated flashing, addressing these issues immediately will help maintain the integrity of your roof and extend its lifespan.
Check and maintain gutters and downspouts
As part of your regular roof maintenance, it is important to check and maintain the gutters and downspouts. Clear any debris that may accumulate in the gutters, as this can cause water to overflow onto the roof.
Ensure that the downspouts are securely attached and allow for proper drainage. Regular maintenance of these components will help prevent water damage and maintain the efficiency of your roof's drainage system.
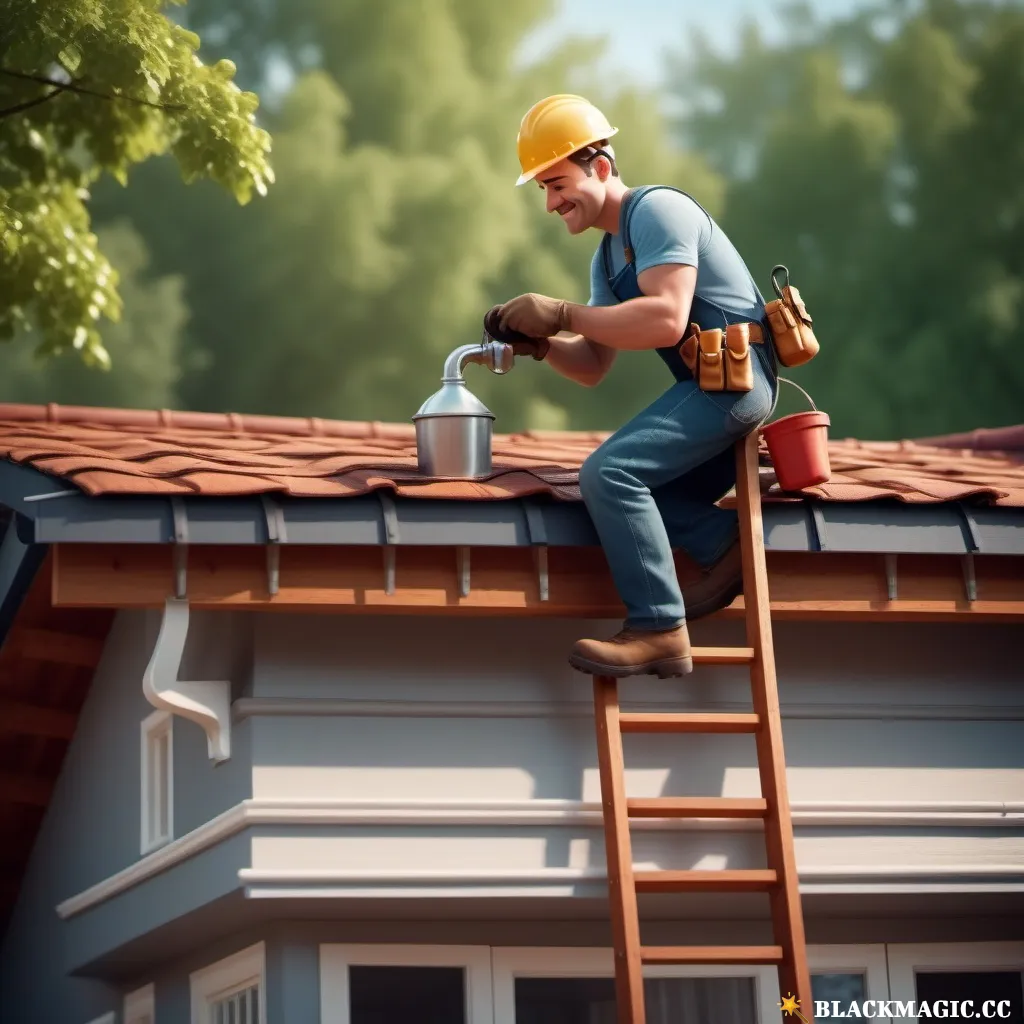
Consult Professional Help
Seek advice from a roofing contractor
If you are unsure about any aspect of waterproofing your roof or if you encounter complex issues during the process, it is recommended to seek advice from a professional roofing contractor.
They have the expertise and experience to properly assess your roof's needs and provide the most effective solutions. Consulting a professional can help ensure that the waterproofing process is carried out correctly and that your roof is adequately protected.
Consider professional roof inspection
In addition to seeking advice, it is advisable to consider having a professional roof inspection conducted periodically.
A professional inspector can identify any hidden issues or potential vulnerabilities that may not be easily detected during a routine inspection. Regular inspections by a certified professional can provide you with peace of mind and help you address any roof-related concerns proactively.
Hire professionals for complex repairs
For complex repairs or installations, it is always best to hire professionals who specialize in roofing.
Certain tasks, such as replacing the entire roof or installing solar panels, require technical skills and knowledge that only professionals possess. Hiring experts in the field ensures that the work is done correctly, efficiently, and in compliance with industry standards.
While it may involve an additional cost, it guarantees the long-term effectiveness of the repairs and the overall protection of your roof.