How to Seal Roof Cracks?
In our exploration of "Roof Cracks, Cracks In Roof," we delve into the common issue of roof cracks and how to effectively seal them.
We understand the importance of maintaining a secure and watertight roof, which is why we have compiled essential tips and techniques to address this concern.
From identifying the source of the cracks to selecting the right sealing materials, we aim to provide practical solutions for ensuring the longevity and durability of your roof. Stay tuned as we guide you through the process of remedying roof cracks and protecting your home from potential damage.
Have you ever noticed cracks appearing in your roof and wondered what could be causing them or how to fix them? We've got you covered with all the information you need to know about roof cracks and how to effectively seal them.
From identifying the different types of roof cracks to step-by-step instructions on how to seal them, we will guide you through the process of maintaining a safe and sturdy roof. Let's dive into the world of roof cracks and learn how to keep our roofs in top condition.
Types of Roof Cracks
When it comes to roof cracks, there are various types that homeowners may encounter. It's essential to know the different types of roof cracks to identify them accurately and address the issue promptly.
Here are some common types of roof cracks:
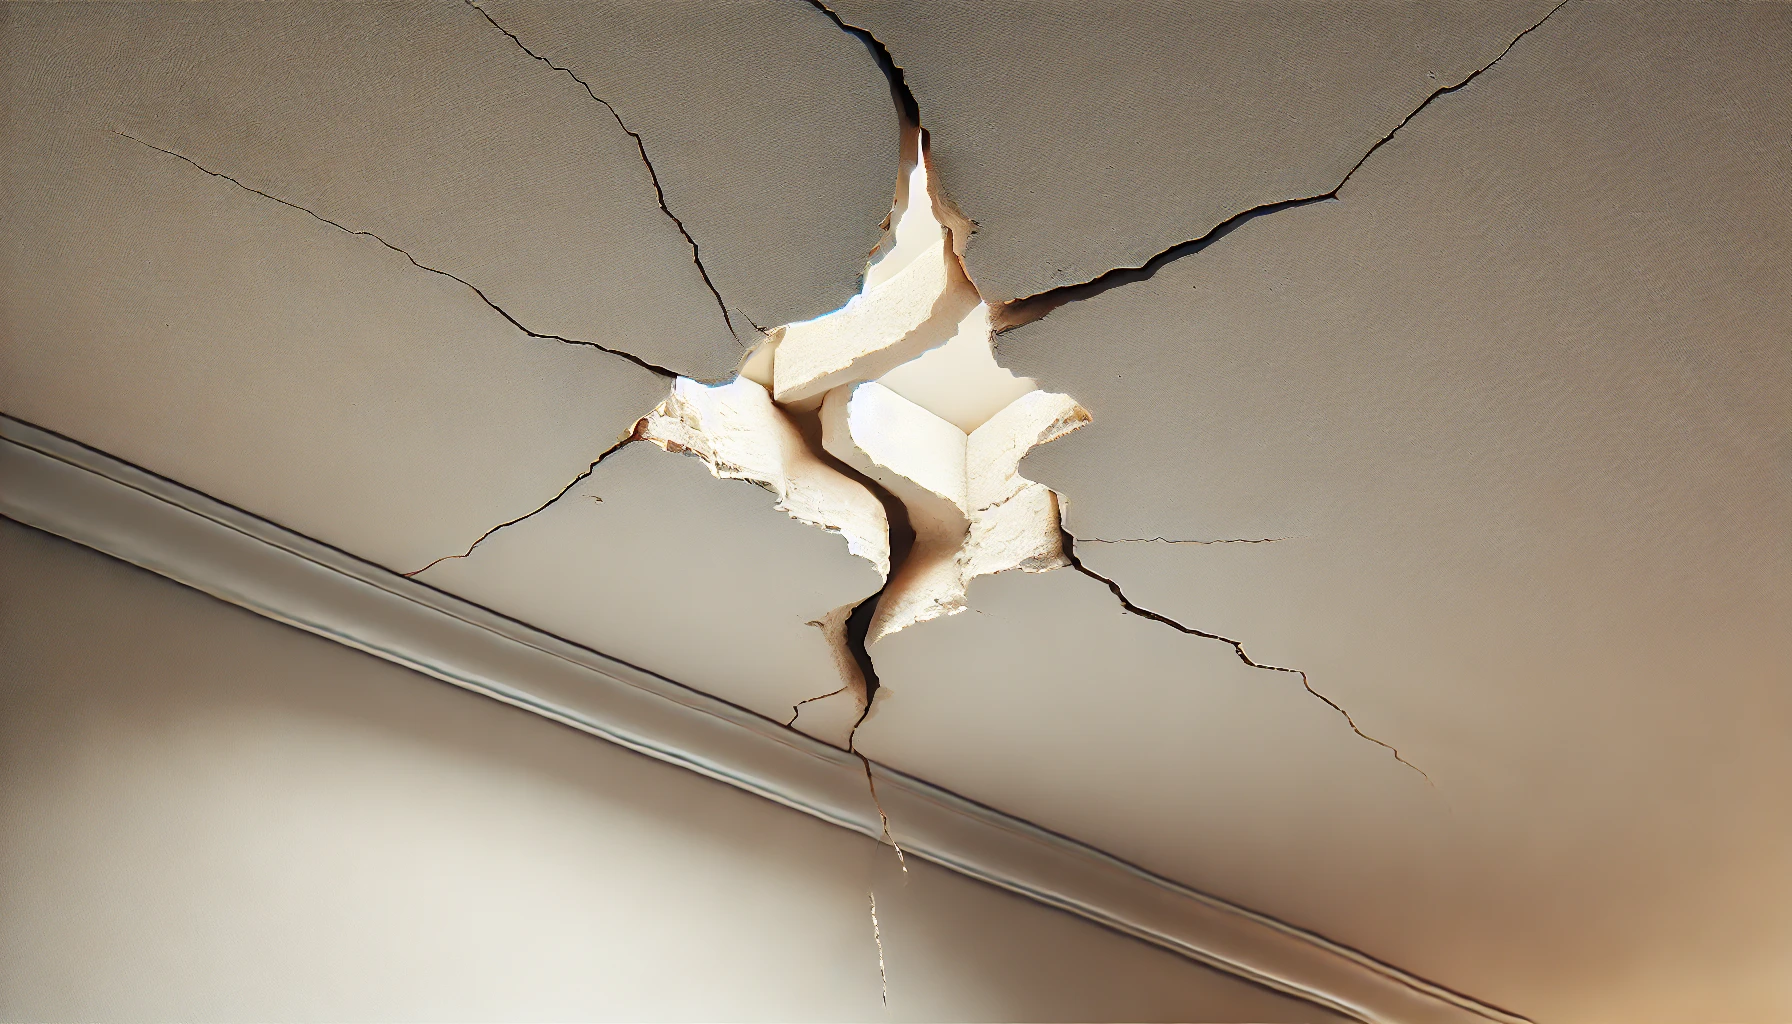
Hairline Cracks
Hairline cracks are thin, shallow cracks that are usually less than 1/16 inch wide. These cracks may not seem severe at first, but they can widen over time if not properly addressed.
Hairline cracks are often caused by natural weathering, aging of the roof materials, or poor installation. They are typically found in areas with high exposure to the sun or fluctuations in temperature.
Hairline cracks can be challenging to detect, as they are sometimes hidden under shingles or roofing materials. Regular inspection of your roof is essential to catch these cracks early and prevent further damage.
Shrinkage Cracks
Shrinkage cracks occur when roofing materials, such as asphalt shingles or wood shakes, dry out and shrink. These cracks are more noticeable than hairline cracks and can be wider and deeper.
Shrinkage cracks can be caused by prolonged exposure to the sun, extreme temperature changes, or poor ventilation in the attic. These cracks often appear in a pattern and can affect the overall integrity of the roof.
If left untreated, shrinkage cracks can lead to leaks, water damage, and even structural issues. It's crucial to address shrinkage cracks promptly to prevent more significant problems down the line.
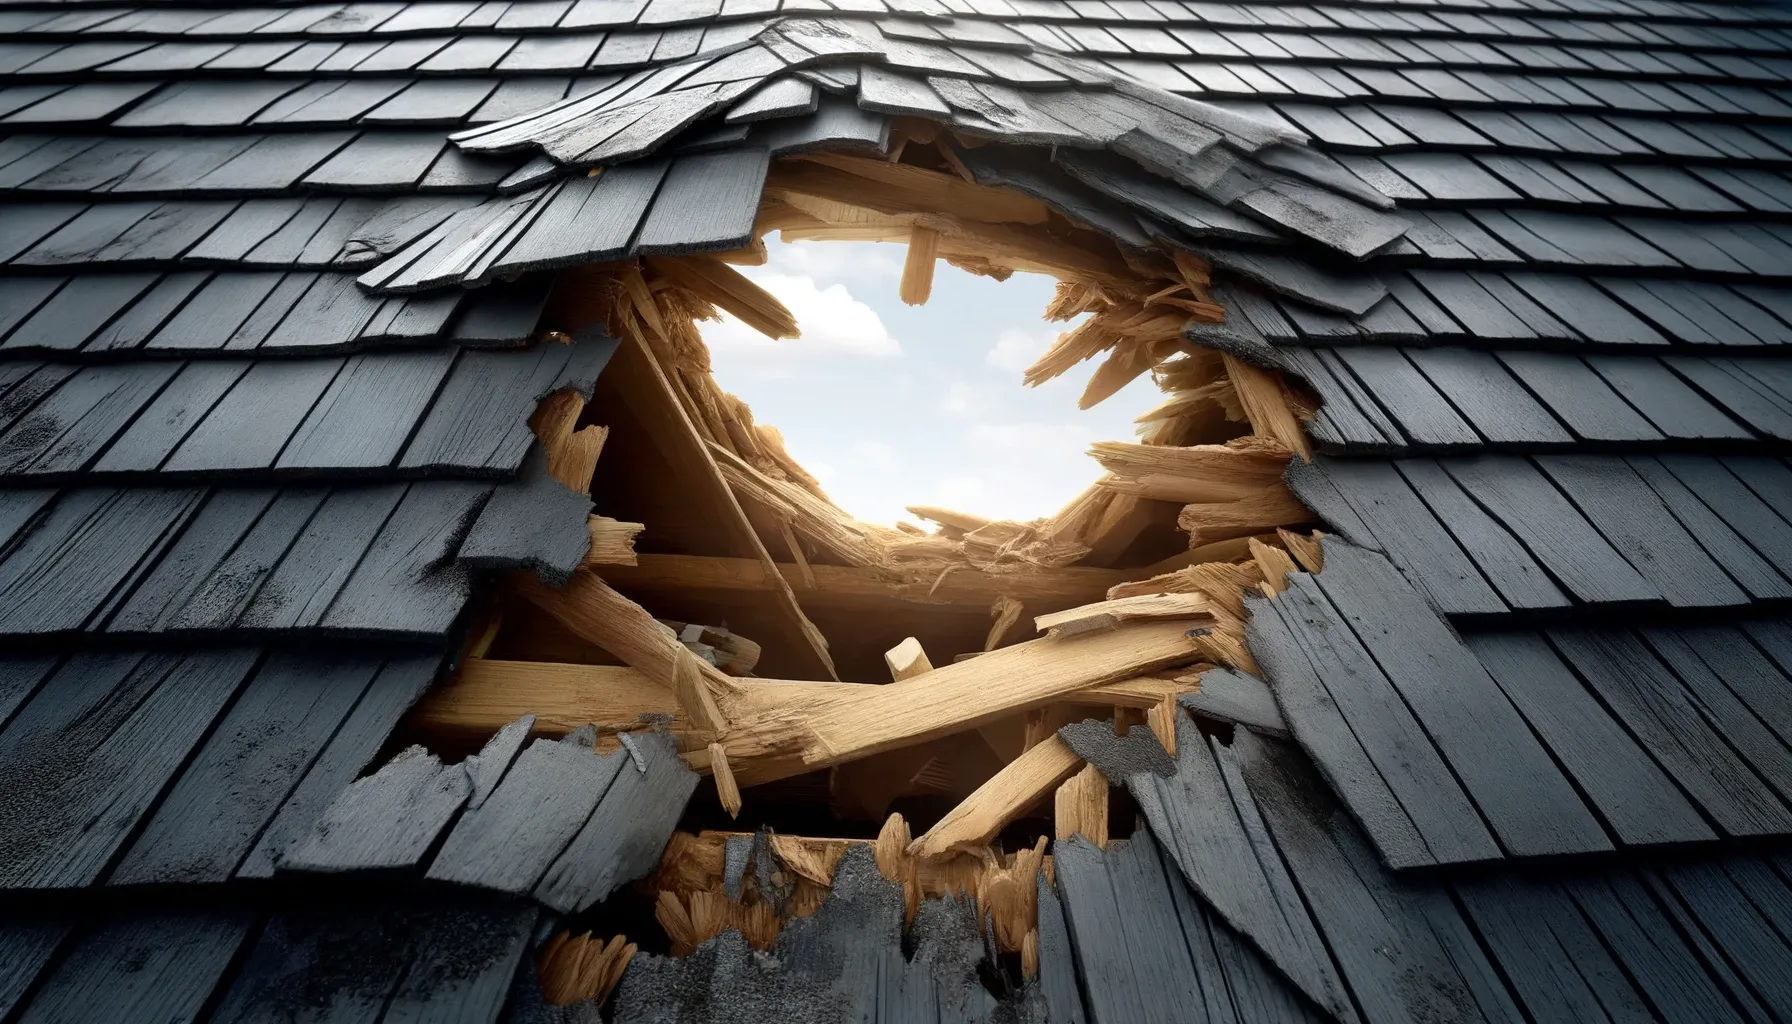
Structural Cracks
Structural cracks are the most severe type of roof cracks and indicate potential damage to the roof's underlying structure.
These cracks are wider than hairline or shrinkage cracks and may be accompanied by other signs of structural damage.
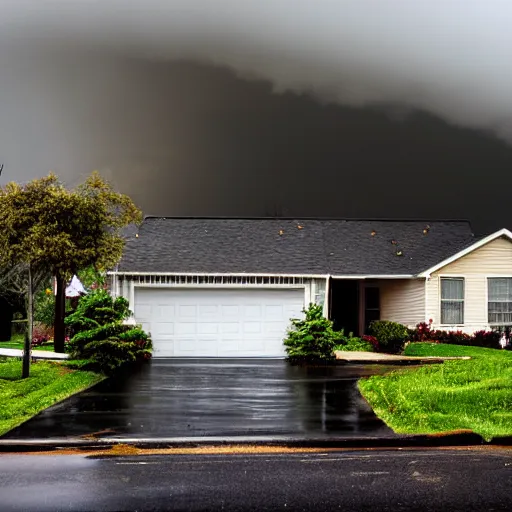
Structural cracks can be caused by various factors, such as heavy snow loads, severe storms, or improper construction techniques.
These cracks often require professional assessment and repair to ensure the roof's stability and safety.
If you notice any structural cracks in your roof, it's essential to contact a roofing specialist immediately to assess the damage and recommend the appropriate course of action.
How to Seal Roof Cracks
Now that we've discussed the different types of roof cracks, let's explore how to seal them effectively. Sealing roof cracks is a crucial step in maintaining the integrity and longevity of your roof. Here's a step-by-step guide on how to seal roof cracks:
Step 1: Clean the Area
Before sealing roof cracks, it's essential to clean the area thoroughly to ensure proper adhesion of the sealant. Remove any debris, dirt, or loose materials from the crack using a broom or brush.
Step 2: Choose the Right Sealant
Selecting the right sealant is key to effectively sealing roof cracks. Consider factors such as the type of crack, the material of your roof, and the weather conditions in your area when choosing a sealant.
For hairline cracks, a flexible sealant such as silicone or elastomeric caulk is recommended. For larger cracks or structural damage, a more durable sealant like roofing cement or tar may be necessary.
Step 3: Apply the Sealant
Once you've cleaned the area and chosen the right sealant, it's time to apply the sealant to the roof crack. Use a caulking gun or trowel to fill the crack with the sealant, ensuring that it is completely covered and sealed.
For hairline cracks, apply a thin bead of sealant along the crack, making sure to feather the edges for a seamless finish. For larger cracks, fill the crack with sealant and smooth it out with a trowel for a uniform appearance.
Step 4: Allow Time to Cure
After applying the sealant, allow it to cure according to the manufacturer's instructions. Most sealants require at least 24 hours to fully cure and provide maximum protection.
Avoid walking on the sealed area or exposing it to water until the sealant has completely cured to prevent damage or premature wear.
Step 5: Inspect and Maintain
Once the sealant has cured, inspect the sealed area to ensure that the crack is properly sealed and no gaps or leaks are present. Regular maintenance and inspection of your roof can help prevent future cracks and ensure long-term durability.
By following these steps and addressing roof cracks promptly, you can maintain a safe and secure roof that protects your home from the elements.
Preventing Roof Cracks
In addition to sealing roof cracks, it's essential to take proactive measures to prevent them from occurring in the first place.
Here are some tips for preventing roof cracks and maintaining a healthy roof:
Install Proper Ventilation
Proper ventilation in the attic helps regulate temperature and humidity levels, reducing the risk of roof cracks due to extreme heat or moisture. Ensure that your attic is adequately ventilated to prevent shrinkage cracks and other issues.
Trim Overhanging Branches
Overhanging tree branches can rub against the roof and cause damage, leading to roof cracks. Trim back any branches that come into contact with your roof to prevent unnecessary wear and tear.
Schedule Regular Inspections
Regular roof inspections can help detect any signs of damage or cracks early on, allowing you to address them promptly before they worsen. Consider scheduling annual inspections with a professional roofer to keep your roof in top condition.
Keep Gutters Clean
Clogged gutters can cause water backup, leading to leaks and structural damage on your roof. Keep your gutters clean and free of debris to prevent water buildup and potential roof cracks.
Address Water Damage
Water damage from leaks or moisture buildup can weaken the structure of your roof and lead to cracks. Address any water damage promptly to prevent further issues and maintain a healthy roof.
By following these preventative measures and practicing regular maintenance, you can reduce the risk of roof cracks and ensure the longevity of your roof for years to come.
In conclusion, roof cracks are a common issue that many homeowners face, but with the right knowledge and tools, they can be effectively sealed and prevented. By understanding the different types of roof cracks, knowing how to seal them, and taking proactive measures to prevent them, you can maintain a safe and sturdy roof that protects your home.
We hope this guide has been informative and helpful in addressing any questions or concerns you may have about roof cracks. Remember to inspect your roof regularly, seal any cracks promptly, and take preventative measures to keep your roof in top condition. With proper care and maintenance, you can ensure the longevity and durability of your roof for years to come. Happy sealing!